Carburetor Installation
SAFETY FIRST: Protective gloves and eyewear are recommended at this point.
Remove any rags or covers from the insulator boots.


Turn the insulator boot clamps so that the screws face out towards the closest side of the frame. Fit the carburetors into the insulator boots.


Tighten the insulator boots securely with a #2 Phillips screwdriver.


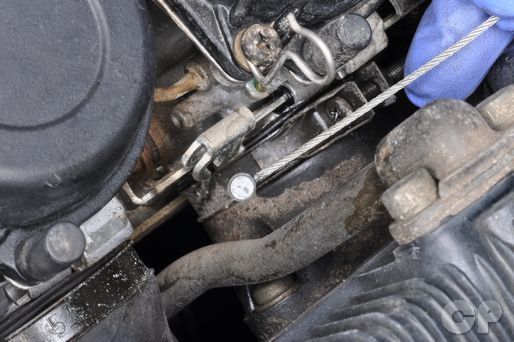
Connect the end of the throttle cable to the throttle drum between the middle carburetors. Secure the throttle cable in the bracket. Set the throttle free play to specification. Tighten the locknut with a 10 mm wrench.


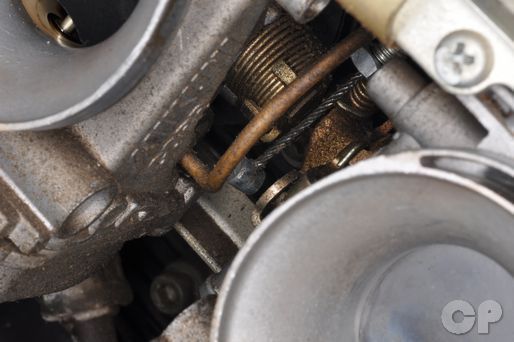
Fit the choke cable to its slide.


Route the clutch cable over the engine, through the frame, between the front forks, and up to its lever.
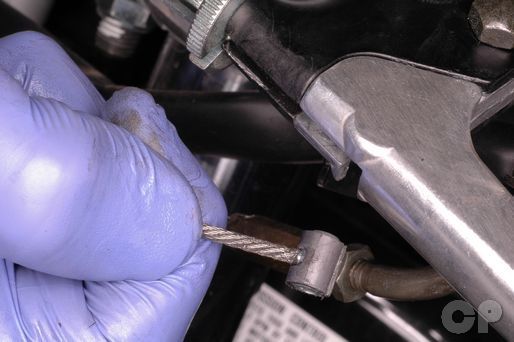


Insert the end of the clutch cable into the lever and guide the cable through the slot in the perch, locknut and adjuster. Pull the clutch cable in and pop the cable housing into the adjuster.
Adjust the clutch cable free play. See the Clutch Cable Free Play topic for more information.


Install the breather hose to the cylinder head cover.
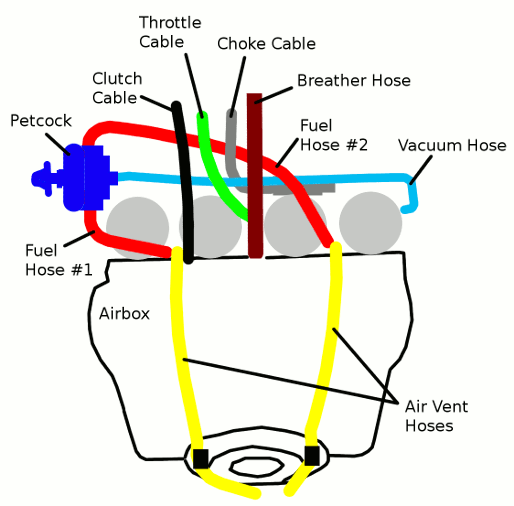
Route the hoses as shown above.
Install the airbox. See the Airbox topic for more information.
Adjust the throttle free play. See the Throttle Free Play topic for more information.
Synchronize the carburetors. See the Carburetor Synchronization topic for more information.
Install the fuel tank. See the Fuel Tank topic for more information.
Adjust the engine idle speed. See the Engine Idle Speed topic for more information.
Copyright 2025 - Cyclepedia Press LLC

Note: If you are viewing this document offline be sure to visit the latest version online at http://www.cyclepedia.com before attempting any repairs. Updates are made without notice.